Its Just a Window

This post is diving directory into “raylib” usage. Feel free to skip it if you are not interested in the technical details of the implementation.
Without further ado, let’s start with the basics.
Creating a window in a specific size and title is as simple as calling the InitWindow function with the desired width,
height, and title. The main loop of the program is a simple while loop that checks if the window should close, and if
not, it begins drawing, clears the background, draws some text, and ends drawing.
#include "raylib.h"

int main() {
    InitWindow(600, 400, "example");

    while (!WindowShouldClose()) {
        BeginDrawing();
            ClearBackground(RAYWHITE);
            DrawText("Hello, world!", 190, 200, 20, RED);
        EndDrawing();
    }
    return 0;
}
My view is represented by a Camera struct, in our case Camera3D that contains the position, target, up vector, field
of view, and projection type.
I set the camera position and target. I set the field of view to $45^o$ degrees and the projection type to perspective. The up vector is set to $(0, 1, 0)$ which means that the positive y-axis is pointing upwards.
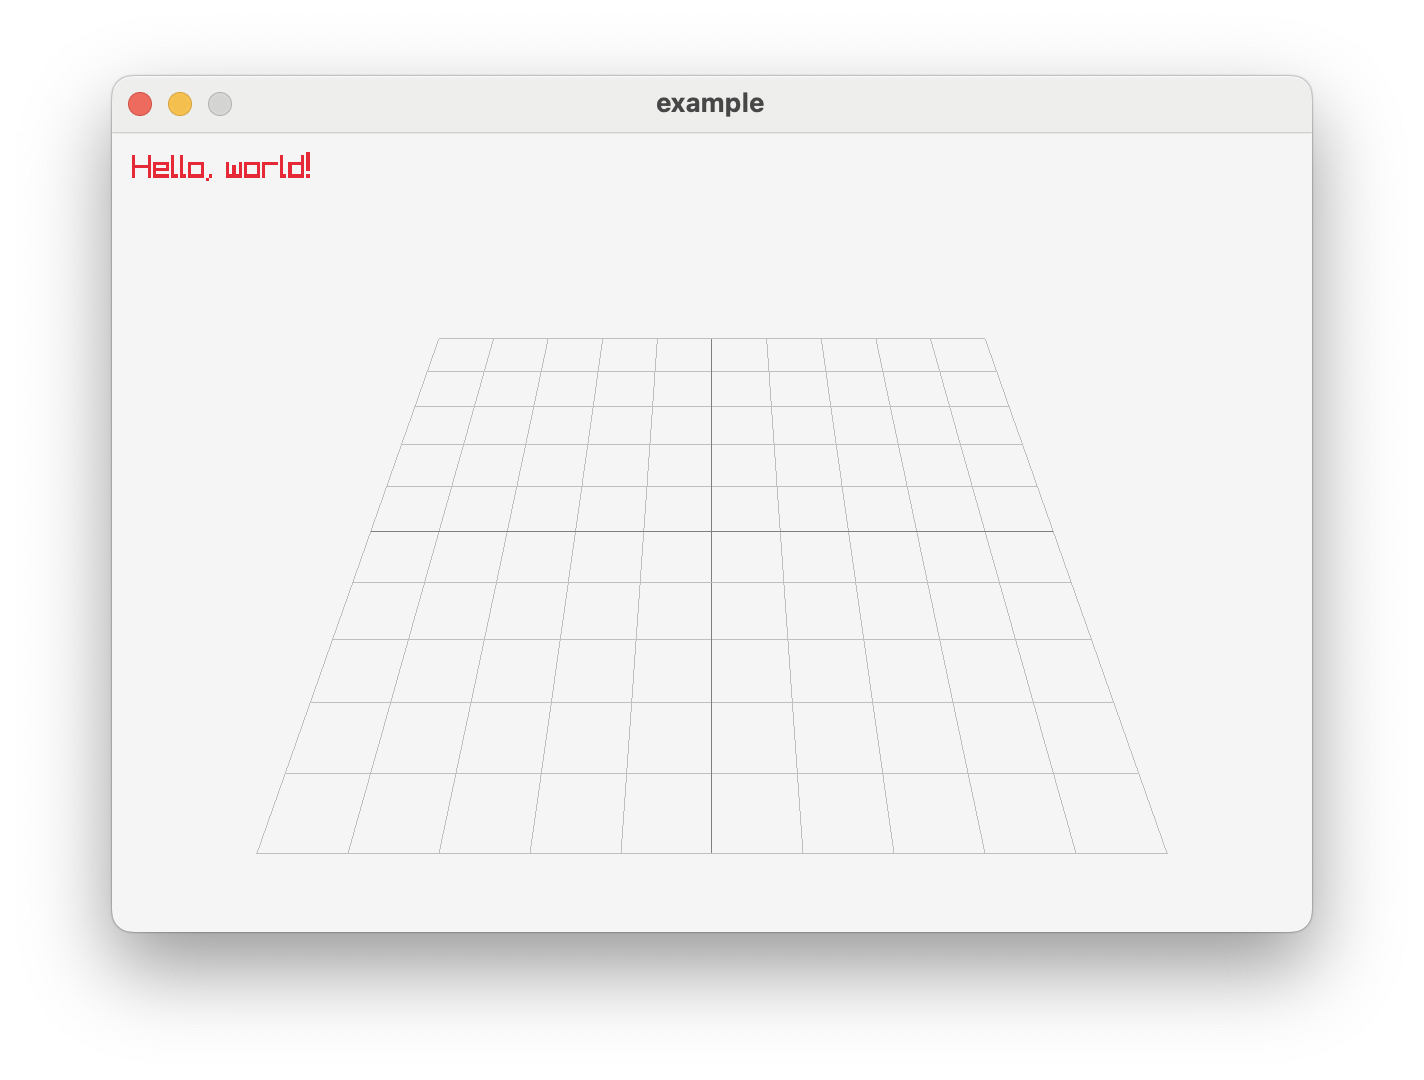
In order to have some orientation in the 3D space, I added a grid to the world. The grid is drawn using the DrawGrid
function.
Now my code look like this:
InitWindow(600, 400, "example");

Camera3D camera = {0};

// camera setup
camera.position = (Vector3){0.0f, 10.0f, 10.0f};
camera.fovy = 45.0f;
camera.projection = CAMERA_PERSPECTIVE;
camera.up = (Vector3){0.0f, 1.0f, 0.0f};
camera.target = (Vector3){0.0f, 0.0f, 0.0f};

while (!WindowShouldClose()) {
    BeginDrawing();
    ClearBackground(RAYWHITE);
        BeginMode3D(camera);       // in 3D mode we need to specify the camera

            DrawGrid(10, 1.0f);    // Draw a grid with 10 lines and
                                   // 1.0f spacing between lines
        EndMode3D();
        DrawText("Hello, world!", 10, 10, 16, RED);
    EndDrawing();
}
And the results look like this:
My camera is my point of view so it is going to represent the cockpit view of the plane.
An aircraft got 3 degrees of freedom in the 3D space, so I need to be able to move the camera in all directions and rotate it around all axes.
Let’s keep this subject to the next post.