Coloring Book

In this post, we will continue building our world by adding colors and textures to our terrain. We will also explore how to use heightmaps to create a more compelling landscape.
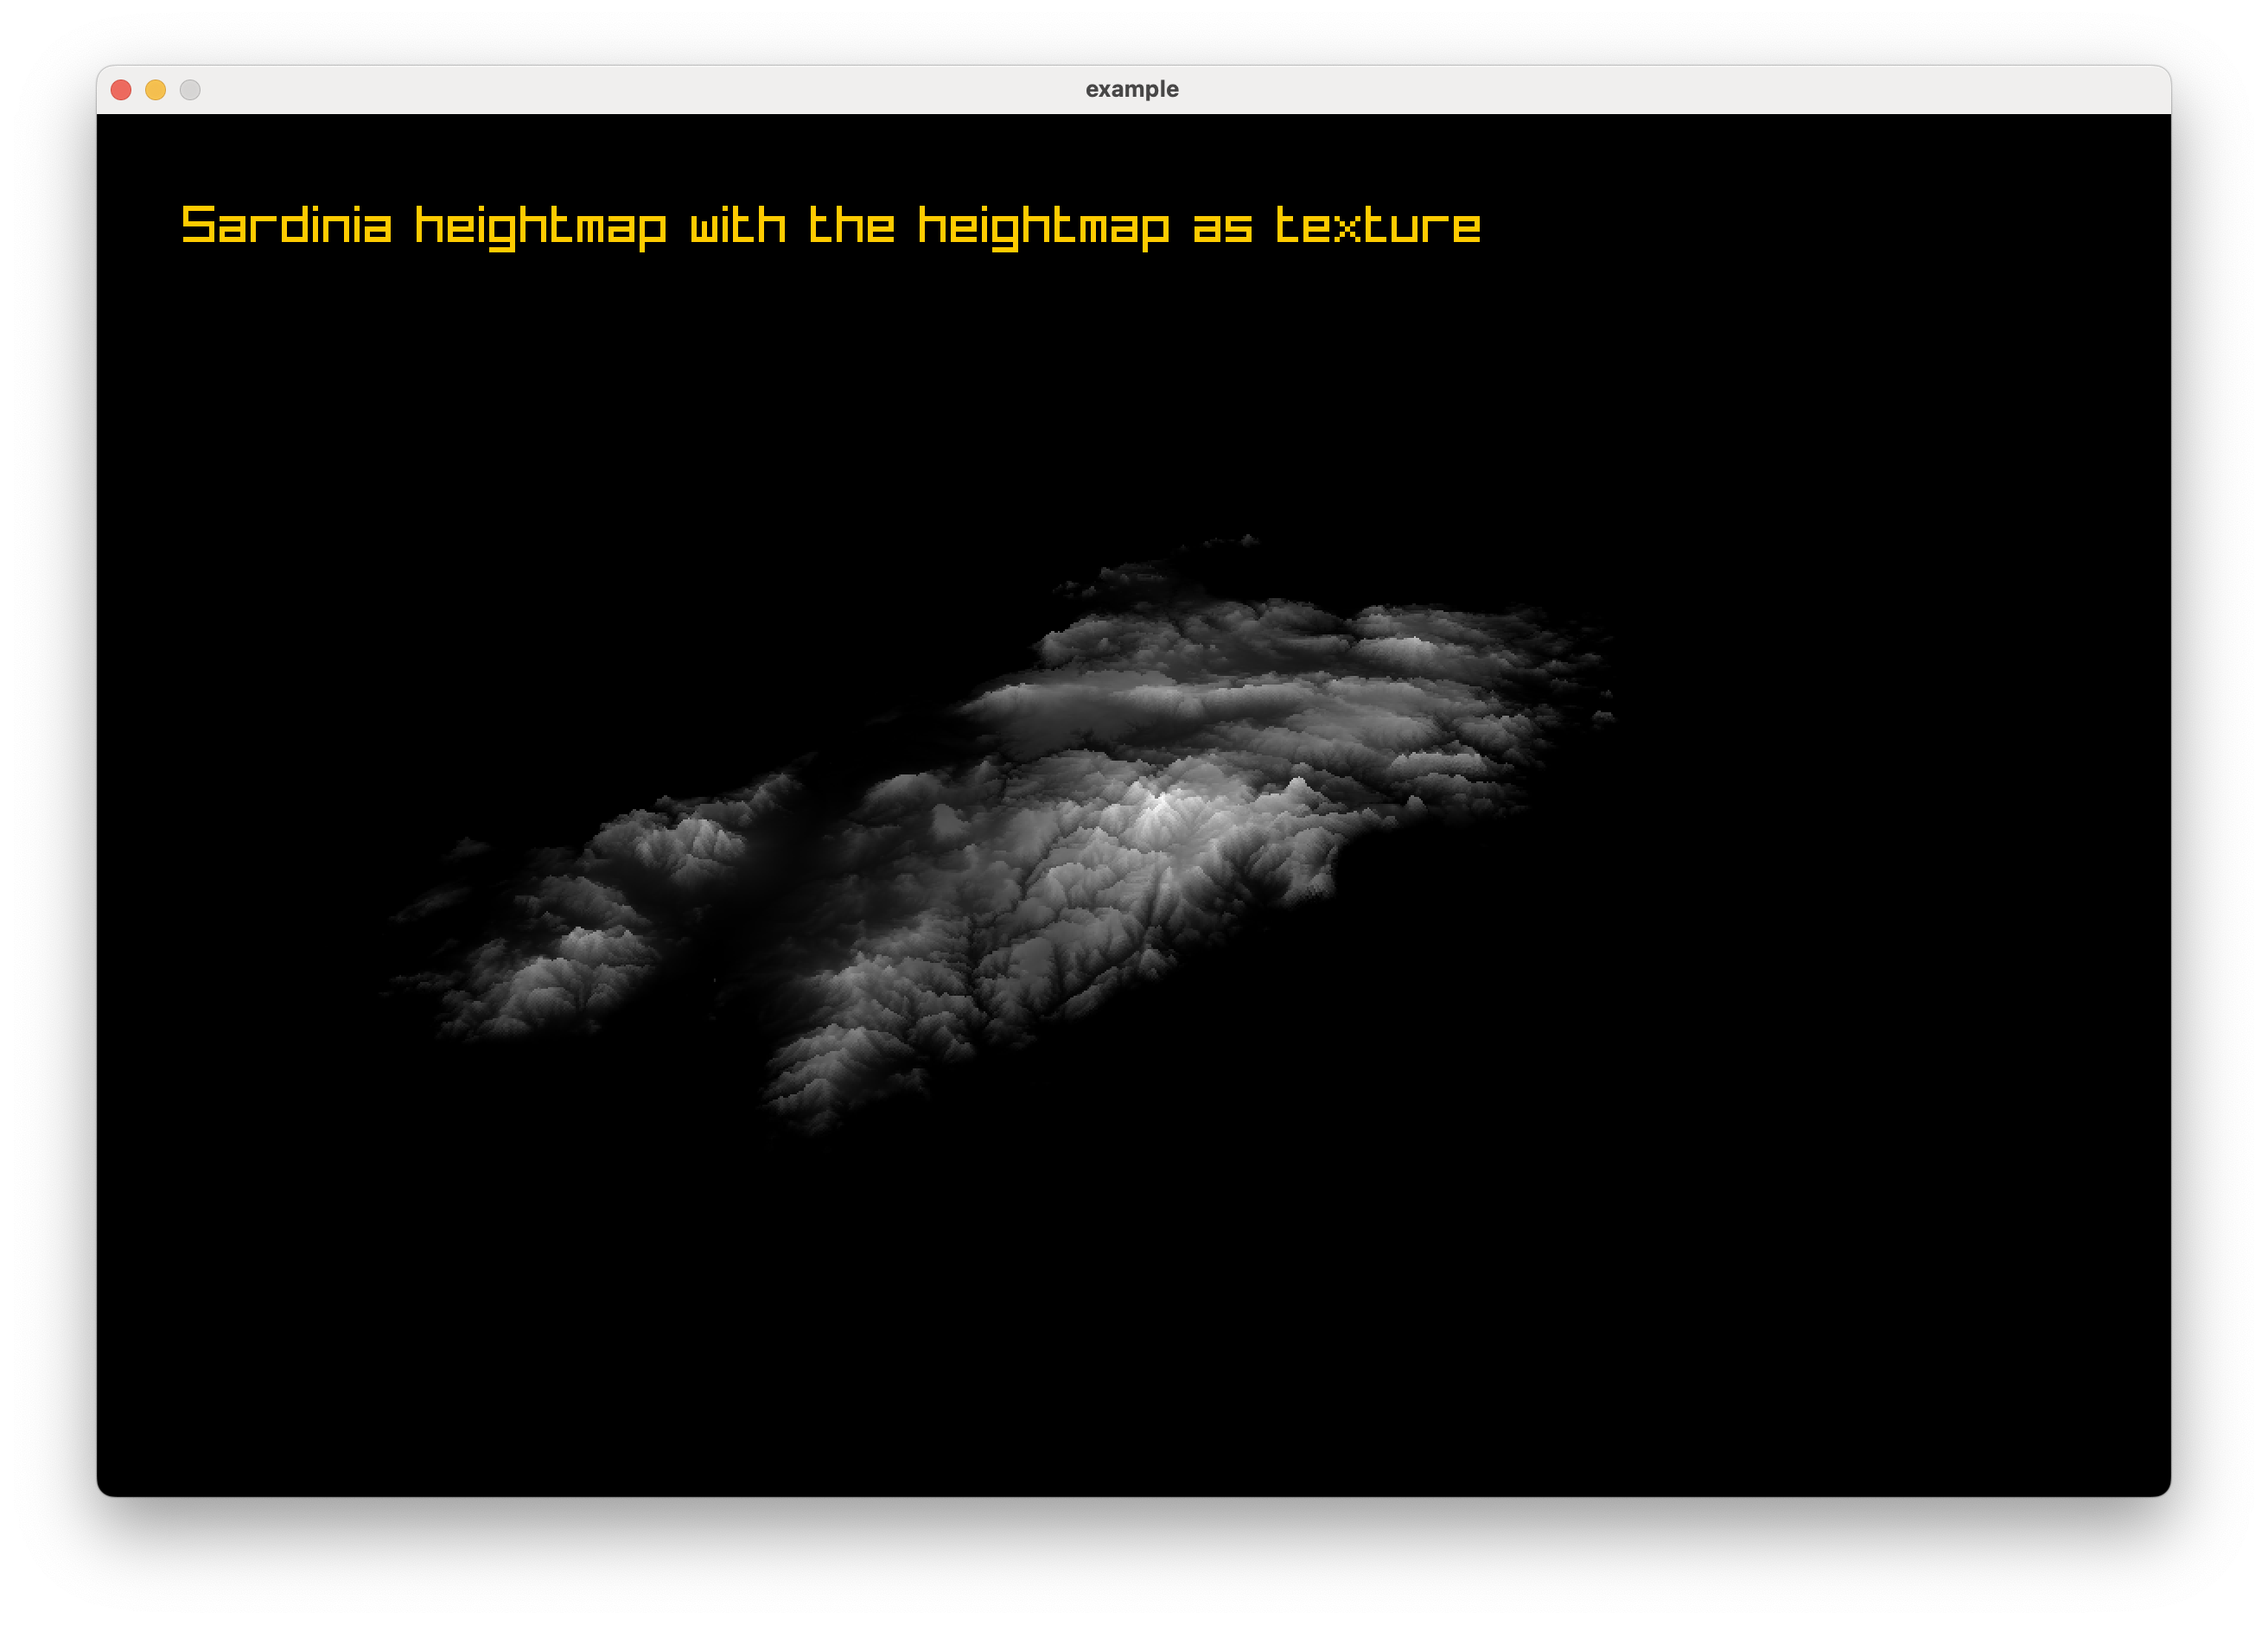
First, I owe you a better render of the results from the previous post. I wasn’t entirely happy with the way the terrain looked in the video, so here it is again, this time as a high-quality image. The gray clouds you see are simply the raw heightmap applied as a texture directly onto the terrain:
Since the original F-15 Strike Eagle II is always in the back of my mind, I wanted to keep the same aesthetic and color palette as the classic game. So, I tried to mimic the way elevation was colored back in the 80s.
The color scheme was pretty simple: blue for the sea, green/yellow for the land, and gray/brown for the mountains ( mostly).
Here is an example of how it actually looked in the original game:
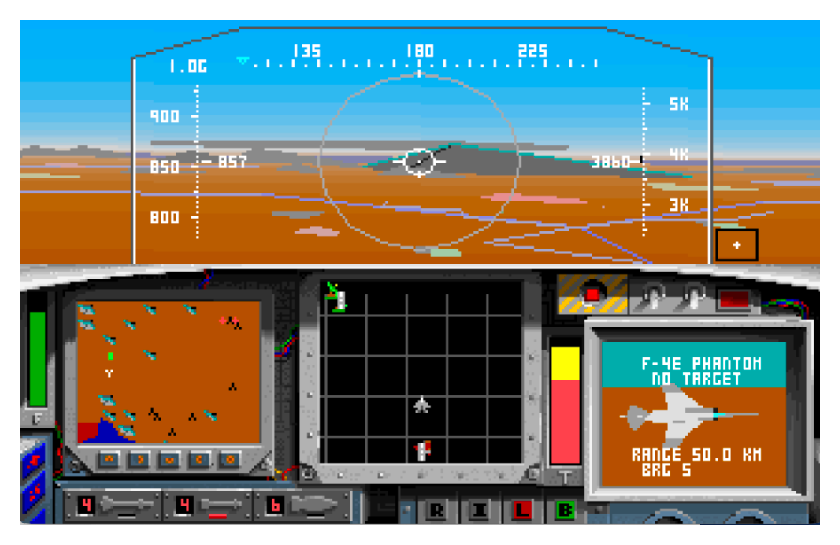
(Side note: This image is mind-blowing to me. It uses VGA graphics, which means it had a palette of 256 colors. I grew up playing this on monochrome CGA graphics, so seeing it like this feels like a huge step up, even today!)
Hypsometric Map⌗
As mentioned, my first attempt at coloring the terrain was to use different colors for different elevation tiers. This technique is called a hypsometric map, and it is a common way to represent elevation in cartography.
I replaced the code that blindly applies the heightmap texture with a new snippet that generates and applies different colors based on the height value of each pixel.
Let’s take a look at the code that does this, step-by-step.
1. Colors⌗
First, let’s define our basic color palette:
Color colorBlue = {0, 102, 204, 255};
Color colorGreen = {25, 178, 51, 255};
Color colorYellow = {255, 229, 102, 255};
Color colorBrown = {153, 102, 51, 255};
2. Generating a New Texture⌗
We will create a blank image in CPU memory with the exact same dimensions as our original heightmap:
Image hypsometricImage = GenImageColor(image.width, image.height, BLANK);
Next, we iterate through all the pixels of the original heightmap and “paint” our new image:
// Extract the pixel array from the original heightmap
Color *pixels = LoadImageColors(image);

for (int y = 0; y < image.height; y++) {
    for (int x = 0; x < image.width; x++) {
        // The image data is a 1D flat array, so we calculate the index
        int index = y * image.width + x;

        // In a grayscale image, the R, G, and B channels are identical.
        // We can just read the Red channel to get our height value (0-255).
        unsigned char heightValue = pixels[index].r;
        Color pixelColor;

        // Map the height value to a specific color band
        if (heightValue < 10) pixelColor = colorBlue;
        else if (heightValue < 50) pixelColor = colorGreen;
        else if (heightValue < 100) pixelColor = colorYellow;
        else pixelColor = colorBrown;

        // Draw the mapped pixel onto our new image
        ImageDrawPixel(&hypsometricImage, x, y, pixelColor);
    }
}
3. Applying the Texture⌗
Now, we convert the image we just drew into a texture (sending it to the GPU) and apply it to our 3D model:
Texture2D hypsometricTexture = LoadTextureFromImage(hypsometricImage);
model.materials[0].maps[MATERIAL_MAP_DIFFUSE].texture = hypsometricTexture;

// Don't forget to clean up the CPU memory!
UnloadImageColors(pixels);
UnloadImage(hypsometricImage);
// UnloadImage(image); // Assuming you unload the original heightmap here too
And here is the result:
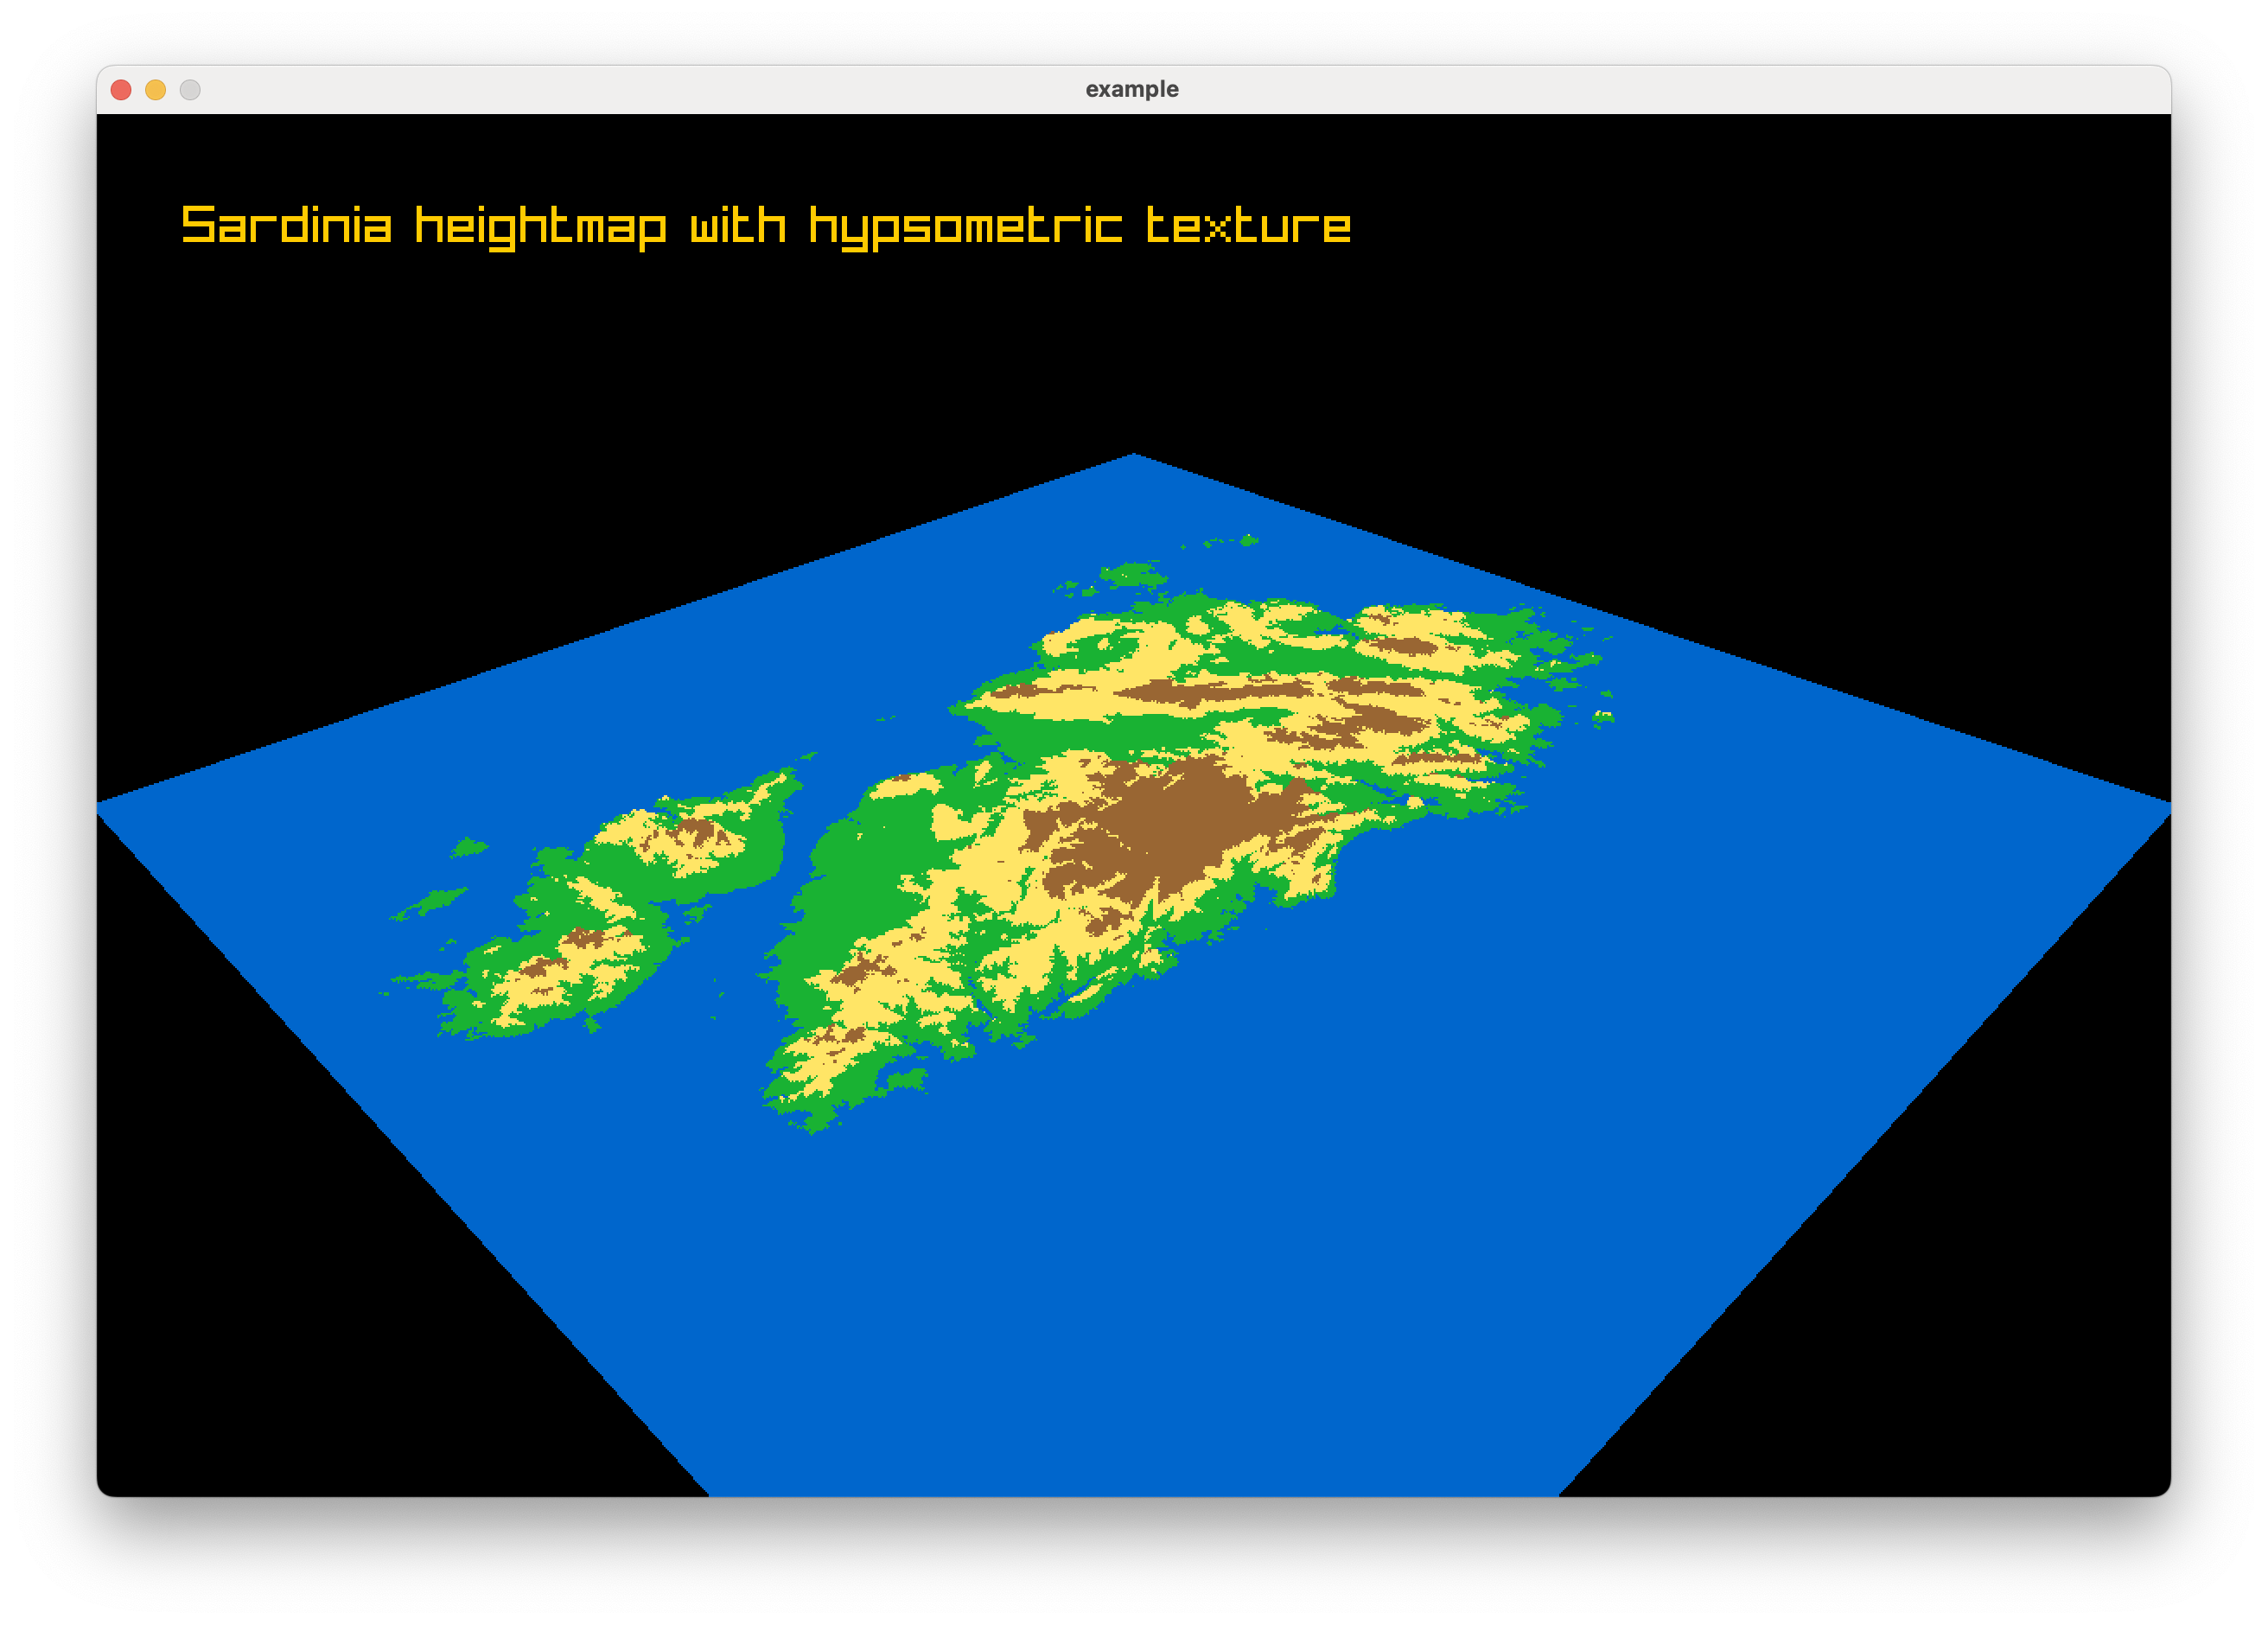
OK! We have a beautifully colored terrain, and I actually really like the retro vibe of it. But, there is a fundamental problem with this approach.
4. The Problem⌗
Because we are using a heightmap that mathematically clamps the sea level at a specific grayscale value, every piece of land in the original dataset that happens to be below or exactly at sea level will be colored blue. Flat plains or valleys with the same elevation value as the ocean will be incorrectly treated as water.
Since I want to use real-world maps to construct my game world, I need to find a smarter, more robust way to differentiate between land and sea. I will talk about how to solve this exact issue in the next post.